The Easiest Food Processor French Bread

This food processor French Bread recipe is so easy to make and tastes better than anything from a store. With just a few ingredients you can have fresh homemade bread tonight!
I kinda sorta like homemade bread. As in, I love it. With all my heart.
Honestly, I could eat half a loaf right out of the oven, all by myself. And I probably have. Probably more than once.

I’ve been making this food processor French Bread for years. I go through seasons when I bake all of our family’s bread, and this is my go-to recipe. Using a food processor (mine is just like this one) makes it a relatively easy task, once you get the hang of it.
Just remember: Making homemade bread is a little bit about following a recipe and a little bit about technic. It takes practice, so be patient. Give it a try…and then try a couple more times.
Eventually, you’ll know just how the dough should look and feel at each stage. That’s a lovely place to be!
Get your FREE Simple Decluttering Cheatsheet!
Start feeling at peace in your own home! Learn how to pick the best spot to start decluttering AND step-by-step how to tackle the mess in any room in your house. PLUS get my best tips right in your inbox…and it’s 100% FREEEEE!
Your email is safe with us. We wouldn’t dream of sharing it with anyone else!
“I keep every email you send out. You are so spot on with your advice.” – MaryLou
Step-by-Step Guide to Making French Bread in a Food Processor
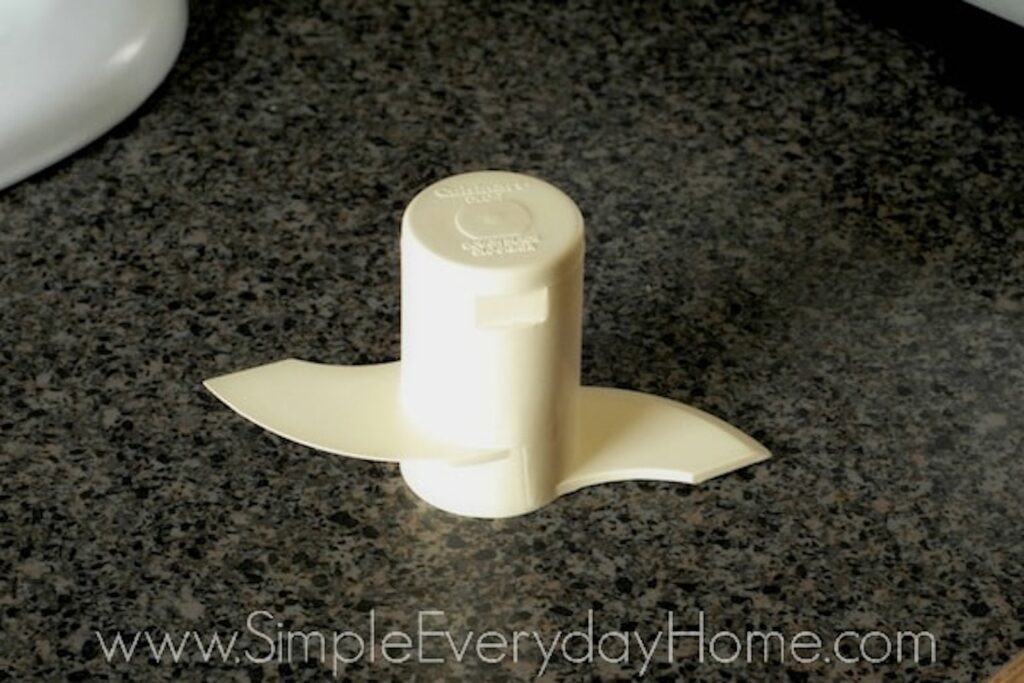
Start out by preheating the oven to 200° F and moving the top rack to its lowest position. Then, put a plastic dough hook into the food processor.

Toss in five cups of the flour, the salt, sugar, and yeast. I use this kind of instant yeast that I get in bulk, but you also can use the little packets. It’s either two packets, or a total of four and a half teaspoons.
Give the food processor a whirl to combine all the dry ingredients.
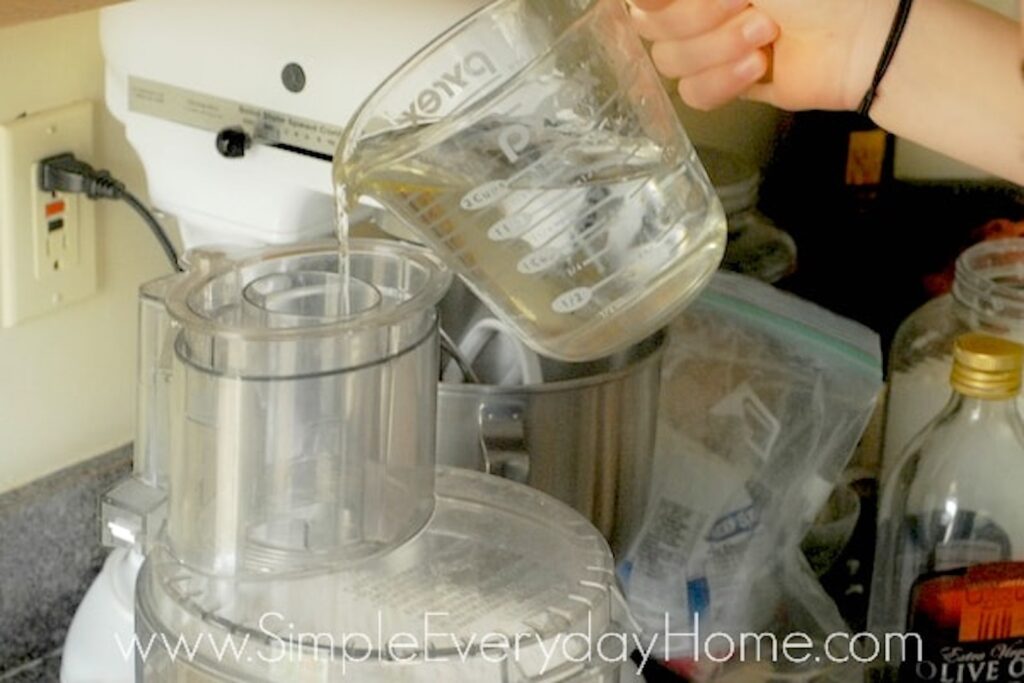
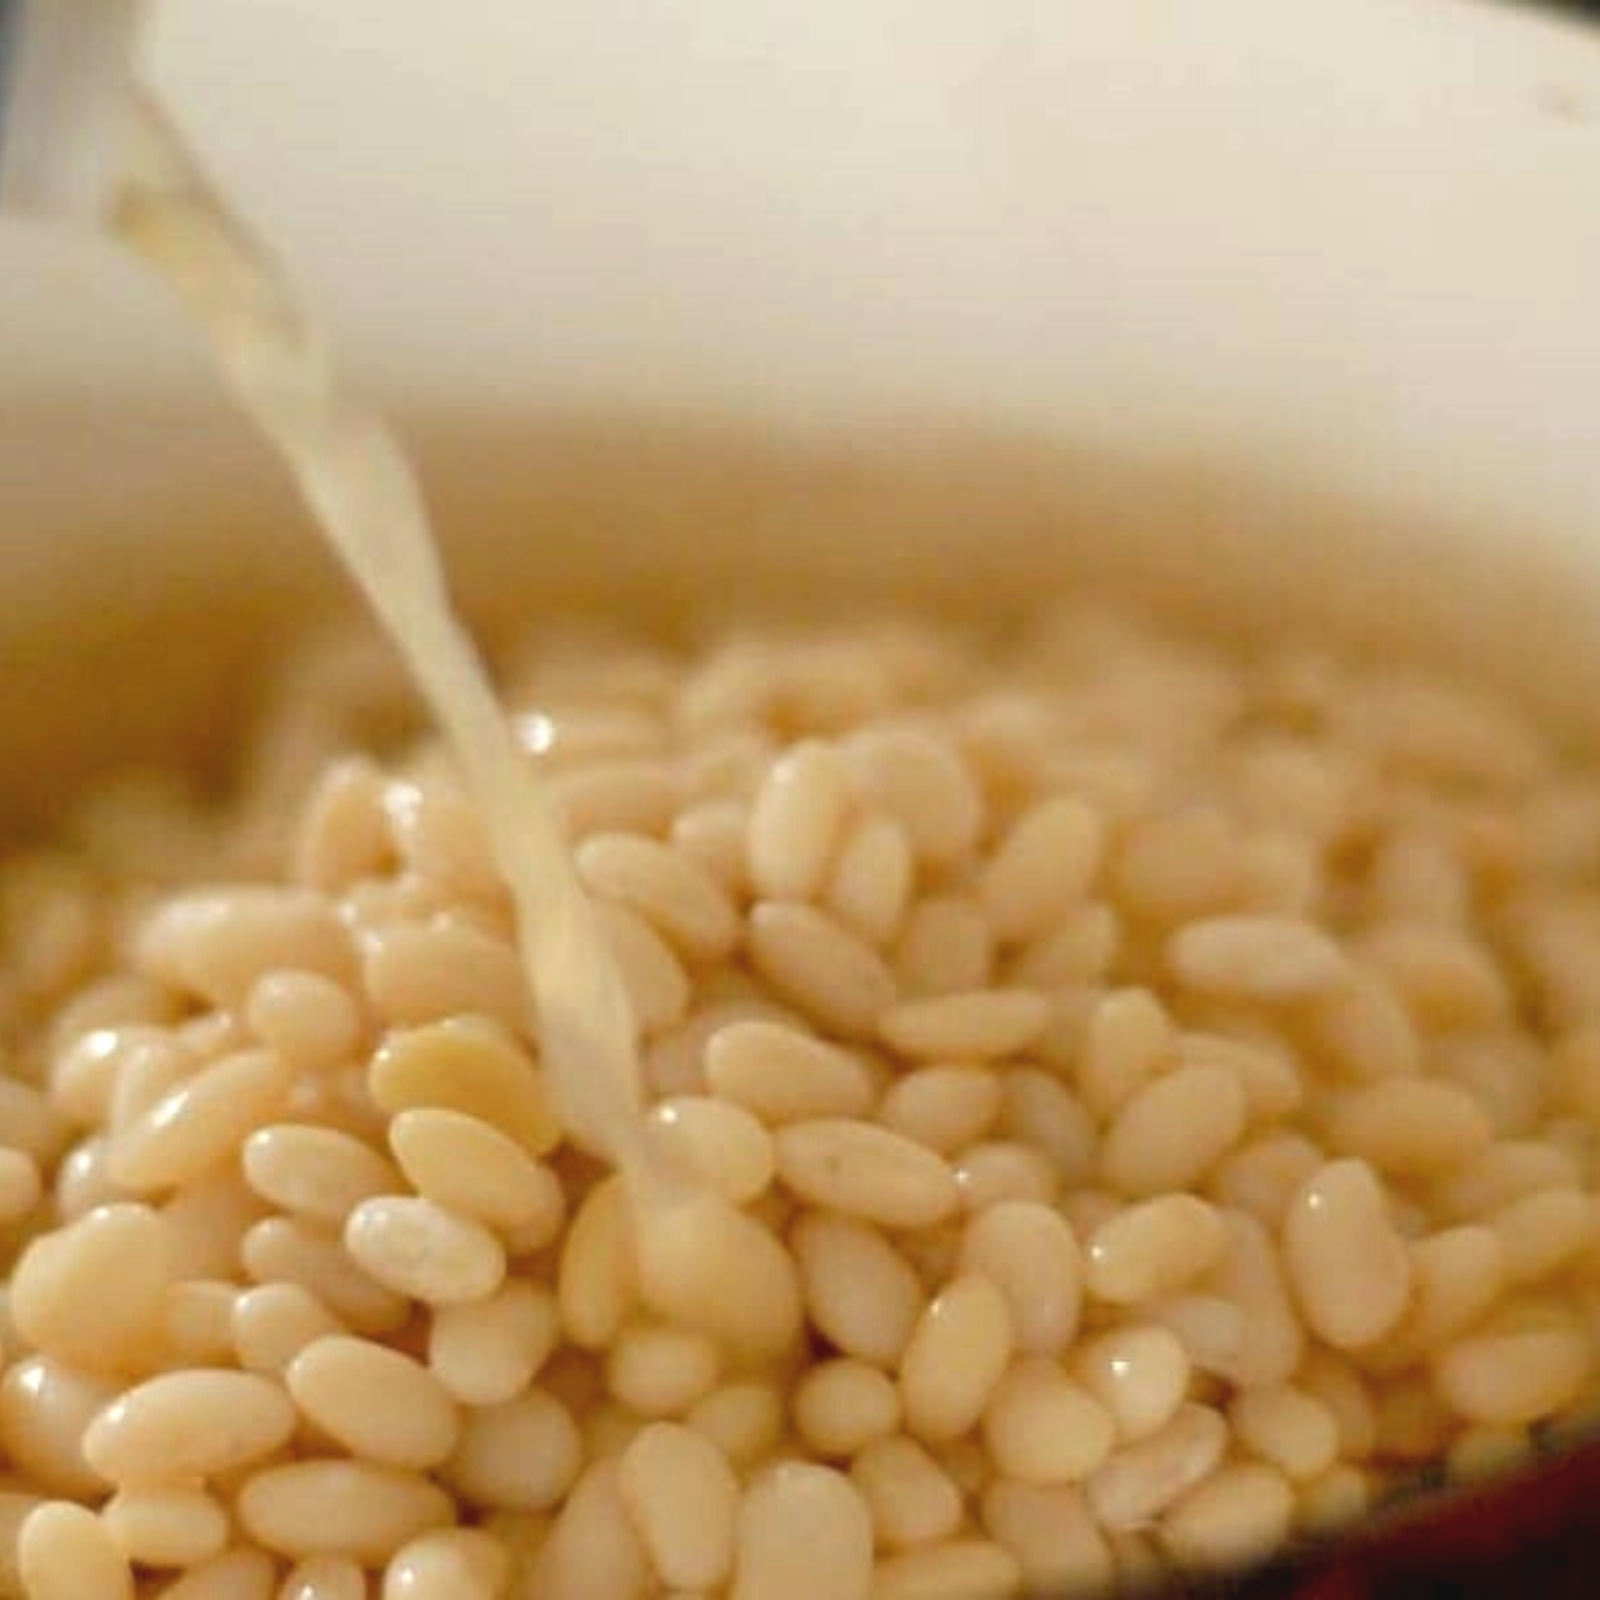
Heat two cups of water to about 125° F. This takes exactly 60 seconds in my microwave. Pour two tablespoons of olive oil into the measuring cup of heated water.
This is where it gets interesting. With the machine running, SLOWLY pour the water and oil through the spout in the lid of the food processor.

Let the machine continue to spin a few more times after the water is completely added. The dough will likely be way too wet at this point, and the food processor may sound like it’s about to have a heart attack. That’s a good time to turn it off.
Take off the lid and add a little more flour, about a quarter or half cup at a time, spinning it around after each addition.

Watch carefully for the dough to start coming together into a ball. It will look a little “shaggy” at first.
You do NOT want to add any more flour than absolutely necessary! To check if the dough is the right consistency, touch gently with an open hand. If the dough is still tacky enough to stick to your hand, keep adding the flour a little bit at a time.
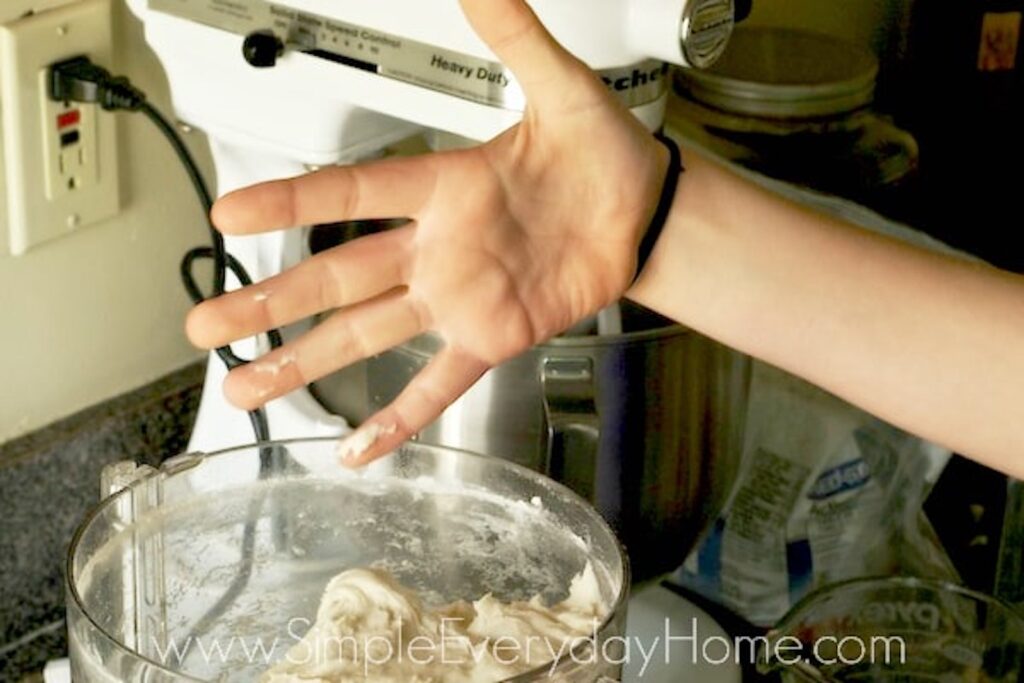
This is what you’re looking for. The dough should just barely stick to an open hand. Not too wet, but not too dry. It’s just right.
Before taking the bread dough out of the food processor, prep a large bowl by pouring about a tablespoon of olive oil (just eyeball it) into the bottom. Use your hand to rub it around the bottom and sides of the bowl.
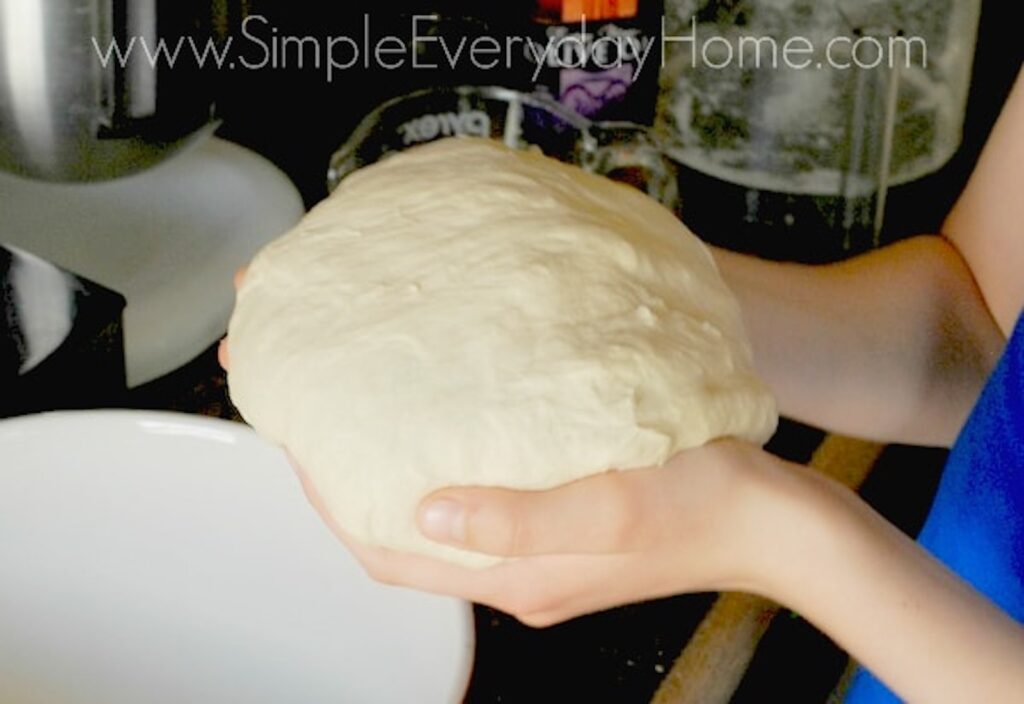
With the oily hand, pull the dough out of the food processor and remove the dough hook. The oil on your hands will make it much easier to tuck it into a ball without getting dough stuck all over.
Plop the ball upside down into the bowl to oil the smooth side of the dough. Flip it back over so the smooth side is on the upside (make sense?), and cover the bowl loosely with plastic wrap.
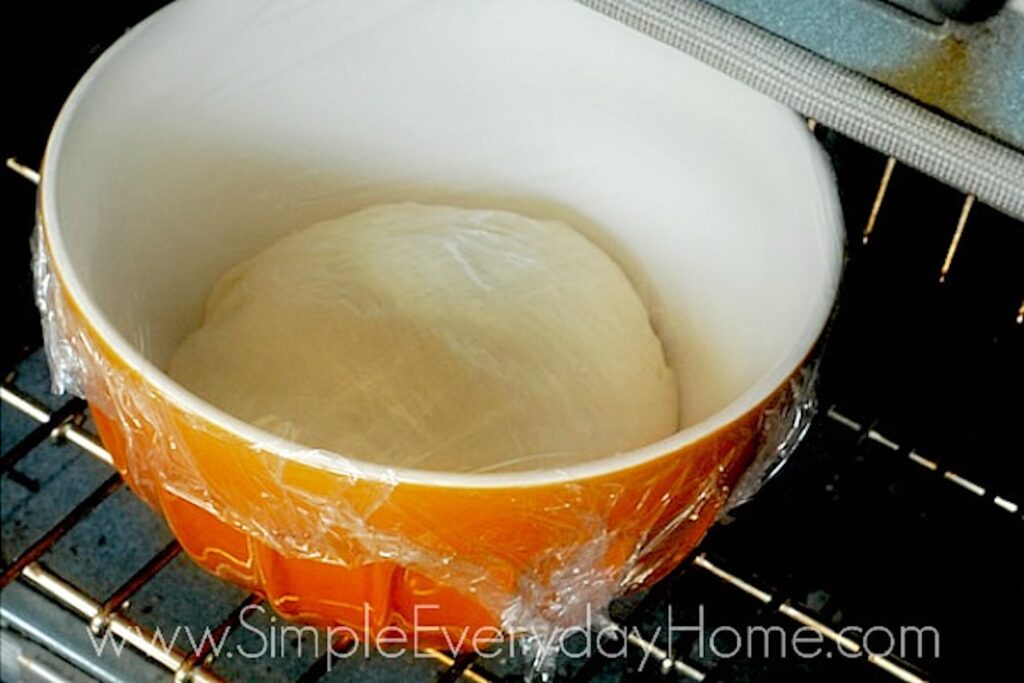
Now, turn the oven off (Did you hear me? TURN IT OFF!) and put the covered bowl in there for about half an hour, until it’s doubled in size.
A warm oven is my big secret for speeding up the bread-making process. Guard the secret carefully, young Jedi.
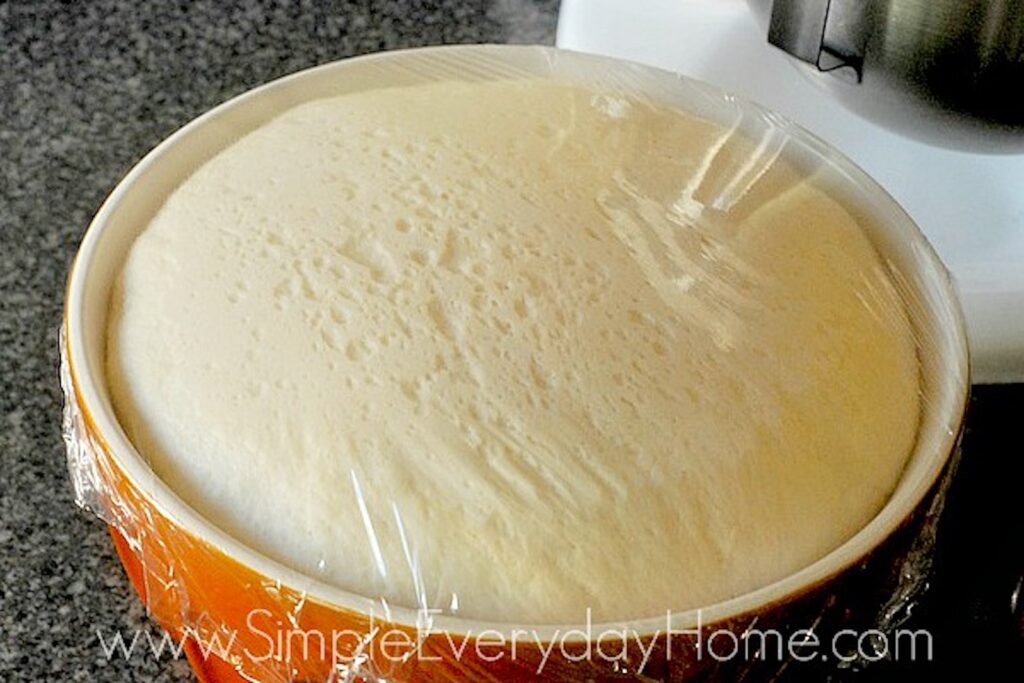
If it doesn’t look like the dough has risen enough after thirty minutes, give it five more. Grease a large cookie sheet while you wait.
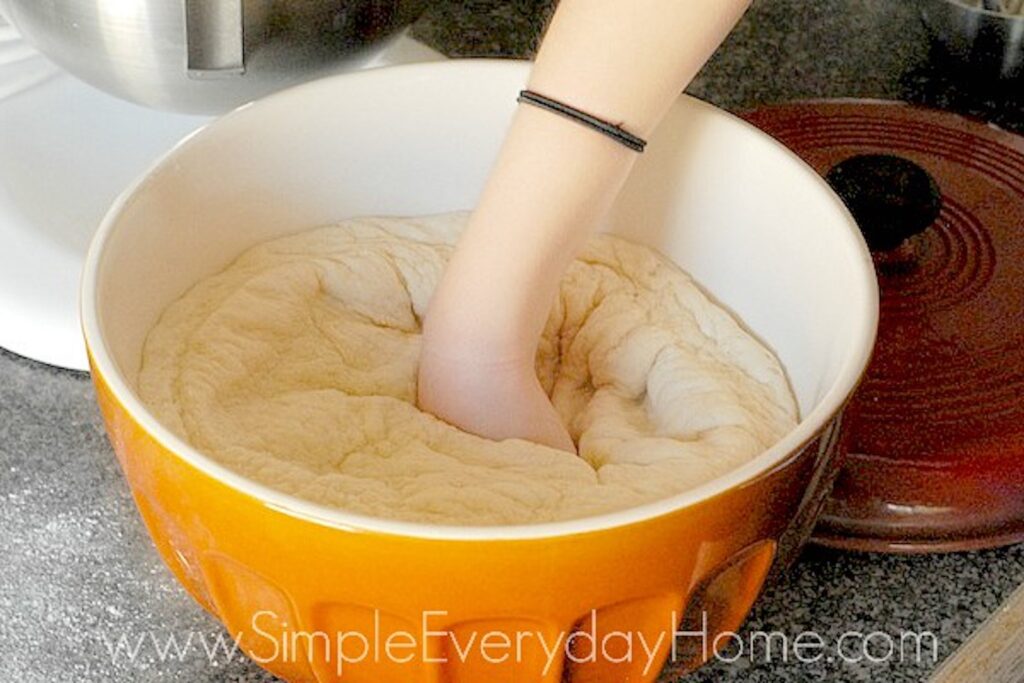
Remove the bowl from the oven, dip your fist into some flour, and punch down the dough. This is my favorite part. Don’t ask me why I enjoy punching something over and over. Probably don’t want to go there.
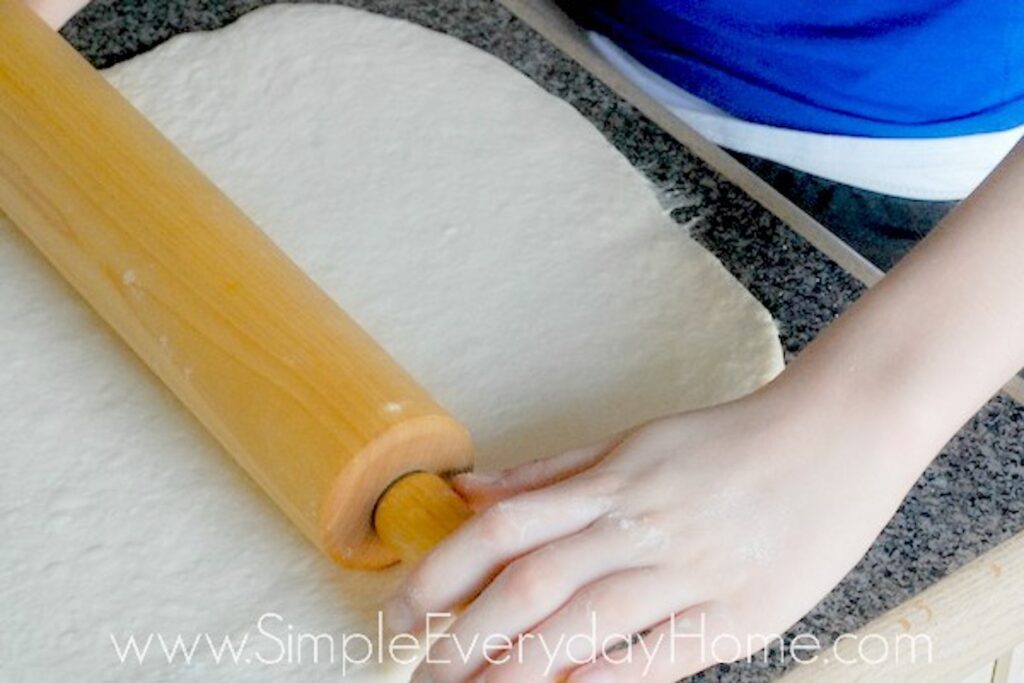
Dump out the dough onto a lightly floured surface and pinch it into two pieces. Roll out one piece of the dough into a large rectangle, approximately twelve-inches wide.
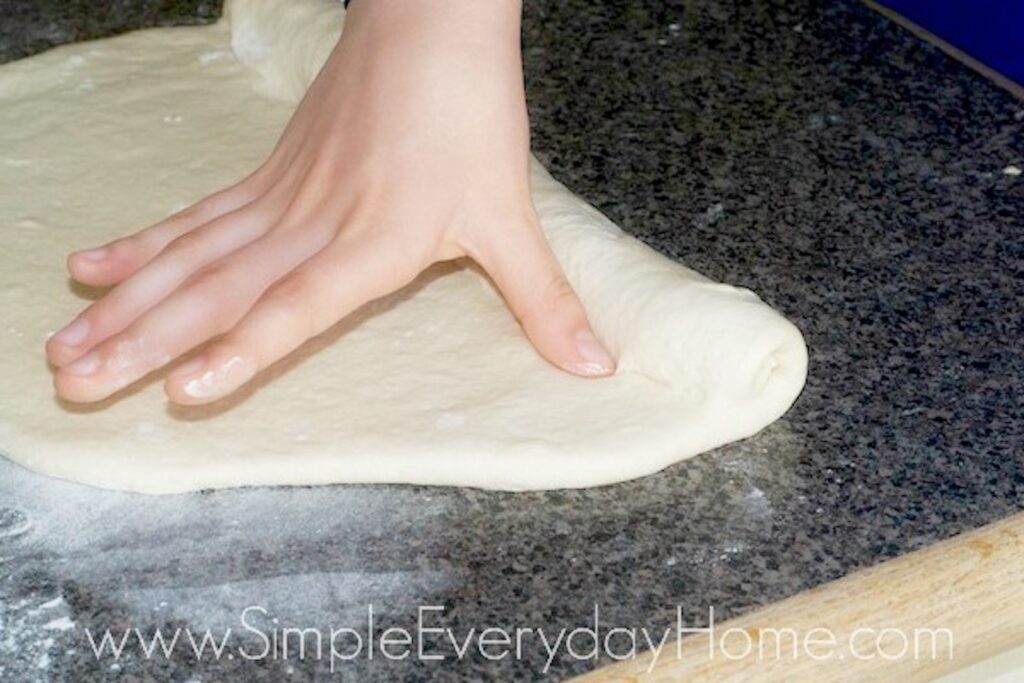
To make a loaf, start rolling up the dough. Pinch it together with your thumb after each roll. If the dough sticks to your hand, just dip your thumb into some flour.

Keep rolling and pinching until you get to the end.
Then, pull up that loose end and pinch it together with the rest of the loaf to seal it up. Place the loaf, seam side down, on one half of the greased baking sheet and tuck the ends under to finish it off.
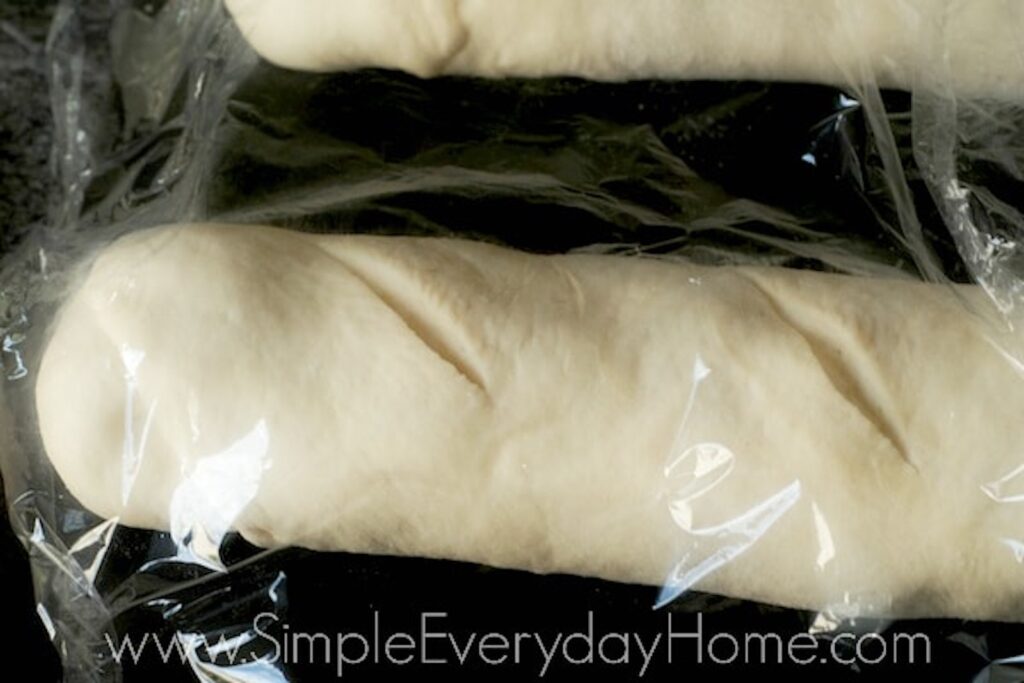
Do the exact same thing for the second ball of dough. Then, cut five or six slashes diagonally across the top of the loaves and lightly cover with a piece of plastic wrap to keep them from drying out.

Let the bread rise for about half an hour. A few minutes before you expect it to be done rising, move the oven rack back to the middle position and preheat to 375° F. When the loaves have doubled, remove the plastic wrap and pop them into the hot oven.

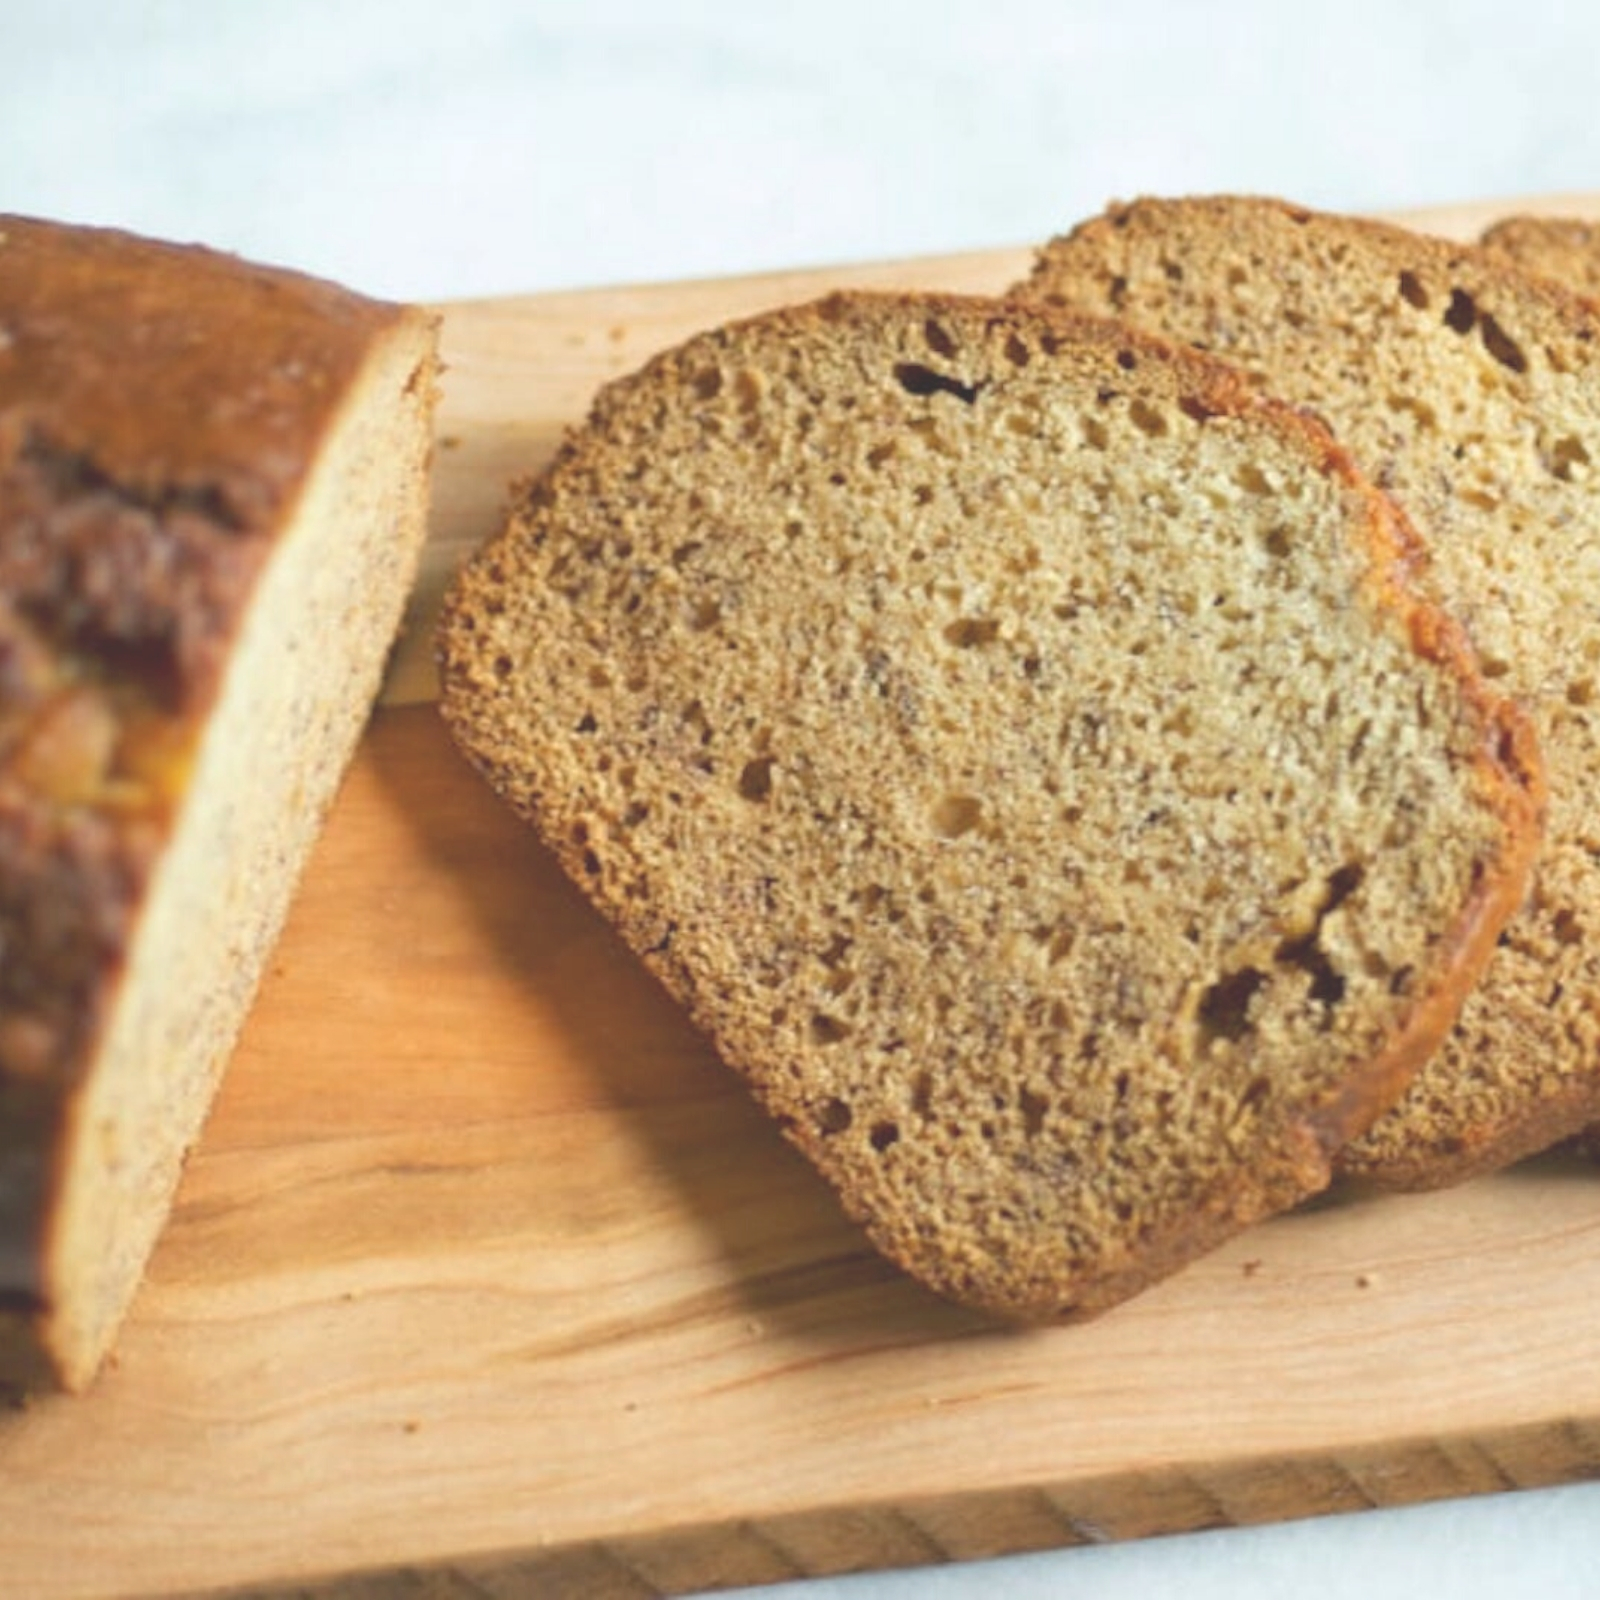
Bake until they’re all pretty and golden and you think you can’t take the lovely smell for one more minute without tasting them.
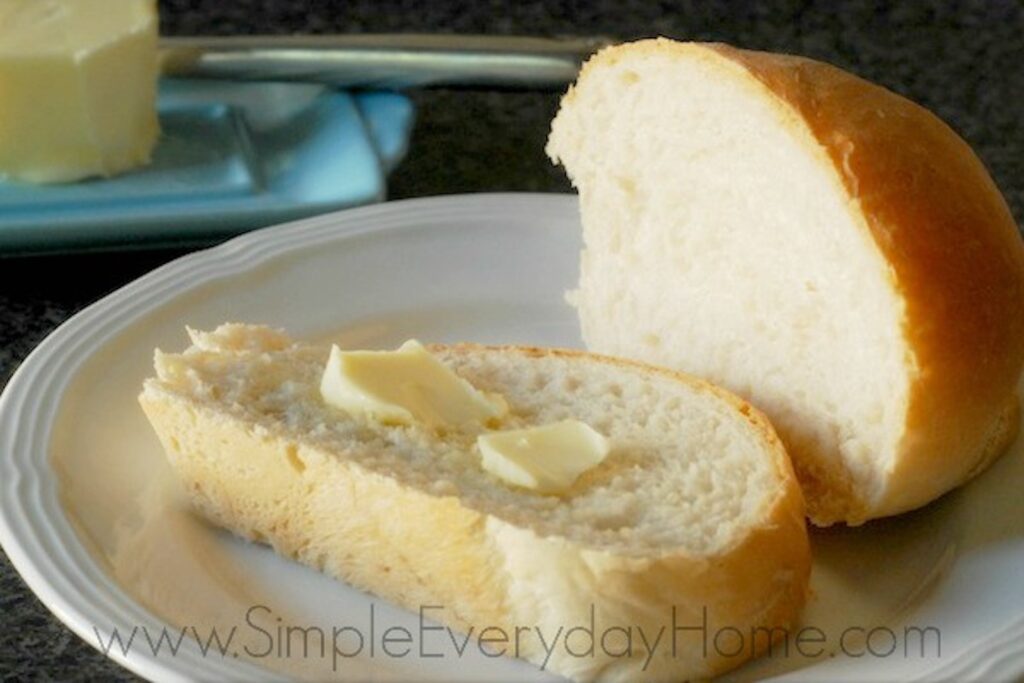
If you can muster any self-control, let the bread cool for a few minutes on a wire rack before slicing. Then, eat half a loaf before your children come in and begin begging for samples. Just a suggestion.
If you decide to save some for the rest of the family, this French Bread goes great with this Easy Vegetable Soup, my family’s absolute favorite Navy Bean Soup, and pasta dishes like this cheesy Baked Rigatoni. Yum!
Now, here’s the printable recipe…
Food Processor French Bread
Ingredients
- 5-6 cups all purpose flour
- 3 tsp. salt
- 1 tbsp sugar
- 2 pkg (or 4 1/2 tsp.) active dry or instant yeast
- 2 cups water
- 2 tbsp olive oil
Instructions
- Move top oven rack to its lowest position and preheat to 200° F.
- In the bowl of a food processor fitted with a dough hook, put 5 cups of the flour, salt, sugar, and yeast. Turn on the machine to combine the dry ingredients.
- Heat the water to 120 to 130° F. Add the oil to the measuring cup of water. With the food processor running, pour in the water and oil mixture very slowly through the spout in the lid. Continue pouring until all of the liquids have been added. Allow to spin a couple more times. The dough will be very wet at this point.
- Remove the lid and add some of the remaining flour, a quarter cup at a time, until the dough comes together into a somewhat smooth ball. The dough should not be tacky, but also should not be too dry.
- Pour a small amount of olive oil into a large bowl and spread around the bottom and sides with your hand. Using the oiled hand, remove the dough from the food processor and shape into a ball. Place the ball into the oiled bowl, smooth side down, and flip it over once so the entire dough ball is oiled and the smooth side is up. Cover bowl loosely with plastic wrap.
- Turn off the oven! Place covered bowl in warm oven for about 30 minutes, or until the dough has doubled in size. Meanwhile, grease a large baking sheet.
- Once doubled, punch down the dough and turn out onto a floured surface. Divide dough into two pieces. Working with one piece at a time, roll into a large rectangle, approximately 12-inches wide. To make a loaf, roll up the dough with your hands, pinching it together after each turn. Place the loaf on the greased baking sheet and tuck under the ends of the dough. Repeat with second loaf. Using a sharp knife, slash the tops of the loaves 5 or 6 times. Cover lightly with plastic wrap and allow to rise for approximately 30 minutes, or until doubled.
- While the dough is rising, move the top oven rack to the middle position and preheat to 375° F. When the loaves have doubled, remove plastic wrap and bake for 25 to 30 minutes until golden brown.
- Allow to cool on wire racks.


Miss Amy,
Thank you for sharing this great recipe.
I want to suggest that a metal pan be put in the bottom of the oven on a low rack when you heat the oven for baking the bread. When you put the bread into the oven to bake add 2Cups of water to the hot metal pan creating a STEAM that will make the bread crust very crusty.
Keep Calm and Bake On,
CAT
Thanks for the tip!
Can you freeze the second loaf before baking? If so, for how long and how do you bake it – thawed or frozen.
I’ve never frozen it before baking, so I’m not sure the process or what times to use. You could try looking for a recipe online that uses this method (of making the dough and then freezing before baking) to see what they suggest. Let us know how it turns out!
Easy…quick…tasty, I will try the crusty trick next time. Good thing my husband was around to anchor down the food processor…add liquid too slowly and the machine wants to jump. My last comment is IT WAS FUN !!
Thanks for helping me start an easy and tasty new habit.
I saw that you mentioned a plastic blade. Can I use the metal one that came with food processor?
I’ve always used the plastic blade, but an internet search seems to show that the metal blade is fine to use, and might even be better than the plastic one. Thanks for the question – I learned something new! 🙂
I made this today and it turned out great! Thanks for a great recipe with easy to follow instructions! I did follow the suggestion of one commenter to place a pan on the bottom rack with water and the steam did make the bread crust nice and crispy. All in all, this was a del ious and fun recipe that I will definitely be making again! Thank you so much!!